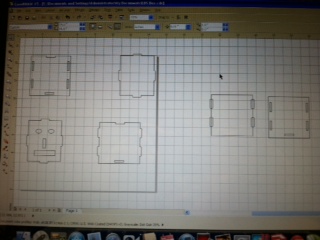
This week, I designed a box in order to be cut with the laser cutter.
I used CorelDraw in order to design the box with four sides, a top, and a bottom. I used press fit construction, so that the boxes would perfectly together without needing any type of adhesive. In order to design it initially, I measured the dimensions of what each side would be, and then I also measured how big my inserts should be. The size of the inserts was based on the debth of the cardboard of the slots. Those were the same size. The length of the inserts was based on the length of the slot. The inserts were slightly longer than the slots. This was so that, once inside, they would continue to fit there easily. I chamfered the edges of the inserts so that they could have a smooth, yet firm fit. I used the weld tool in order to create the inserts, and I used the trim tool in order to create the slots.
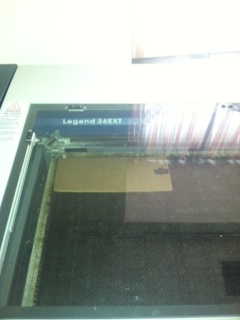
I then used the laser machine to cut the cardboard that I used for this prototype. I first cut just two of the sides to make sure that the joints fit together. It took me a couple of trial runs to get the measurements exactly correct. Once I got the right fit, I then printed out the rest of the sides, followed by the top and bottom of the box.
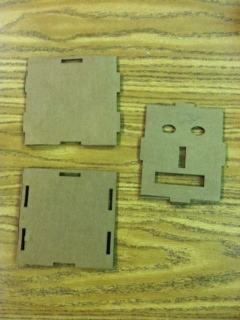
The laser cutter cut each of the pieces out before I put them together.
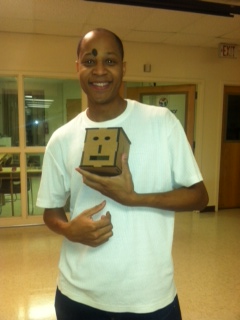
Afterward, I was able to smoothly put the box together.